Part 5: Quality Tests 🛡️
Time: ~10 minutes | Prerequisites: Part 4 completed (incremental pipeline running)
Data pipelines are only as good as the data they produce. A single NULL primary key or
an unexpected value in a critical column can cascade through your entire pipeline DAG and
corrupt downstream analytics.
In this part, you’ll add quality tests to your pipelines — SQL checks that run automatically and can block bad data from being merged.
How Quality Tests Work
A quality test in RAT is a SQL query attached to a pipeline. The rule is simple:
0 rows returned = pass. Any rows returned = fail.
You write a SELECT that looks for bad data. If the query returns nothing, your data
is clean. If it returns rows, those rows are the violations — and RAT logs exactly
which records failed.
Severity Levels
Each quality test has a severity that determines what happens when it fails:
| Severity | On Failure | Behavior |
|---|---|---|
error | 🚫 Blocks merge | The pipeline branch is discarded. Data does NOT land in the table. |
warn | ⚠️ Allows merge | Data is merged normally, but the failure is logged and visible in the UI. |
Use error severity for checks that protect data integrity — null primary keys,
referential integrity, schema violations. Use warn for checks that flag
anomalies but shouldn’t block the pipeline — unexpected enum values, outliers,
missing optional fields.
Create Your First Quality Test
Let’s add a quality test that ensures no launch records have a NULL launch ID.
A null primary key would break joins and deduplication downstream.
Open the pipeline detail
Navigate to Pipelines → click on mission_log to open its detail page.
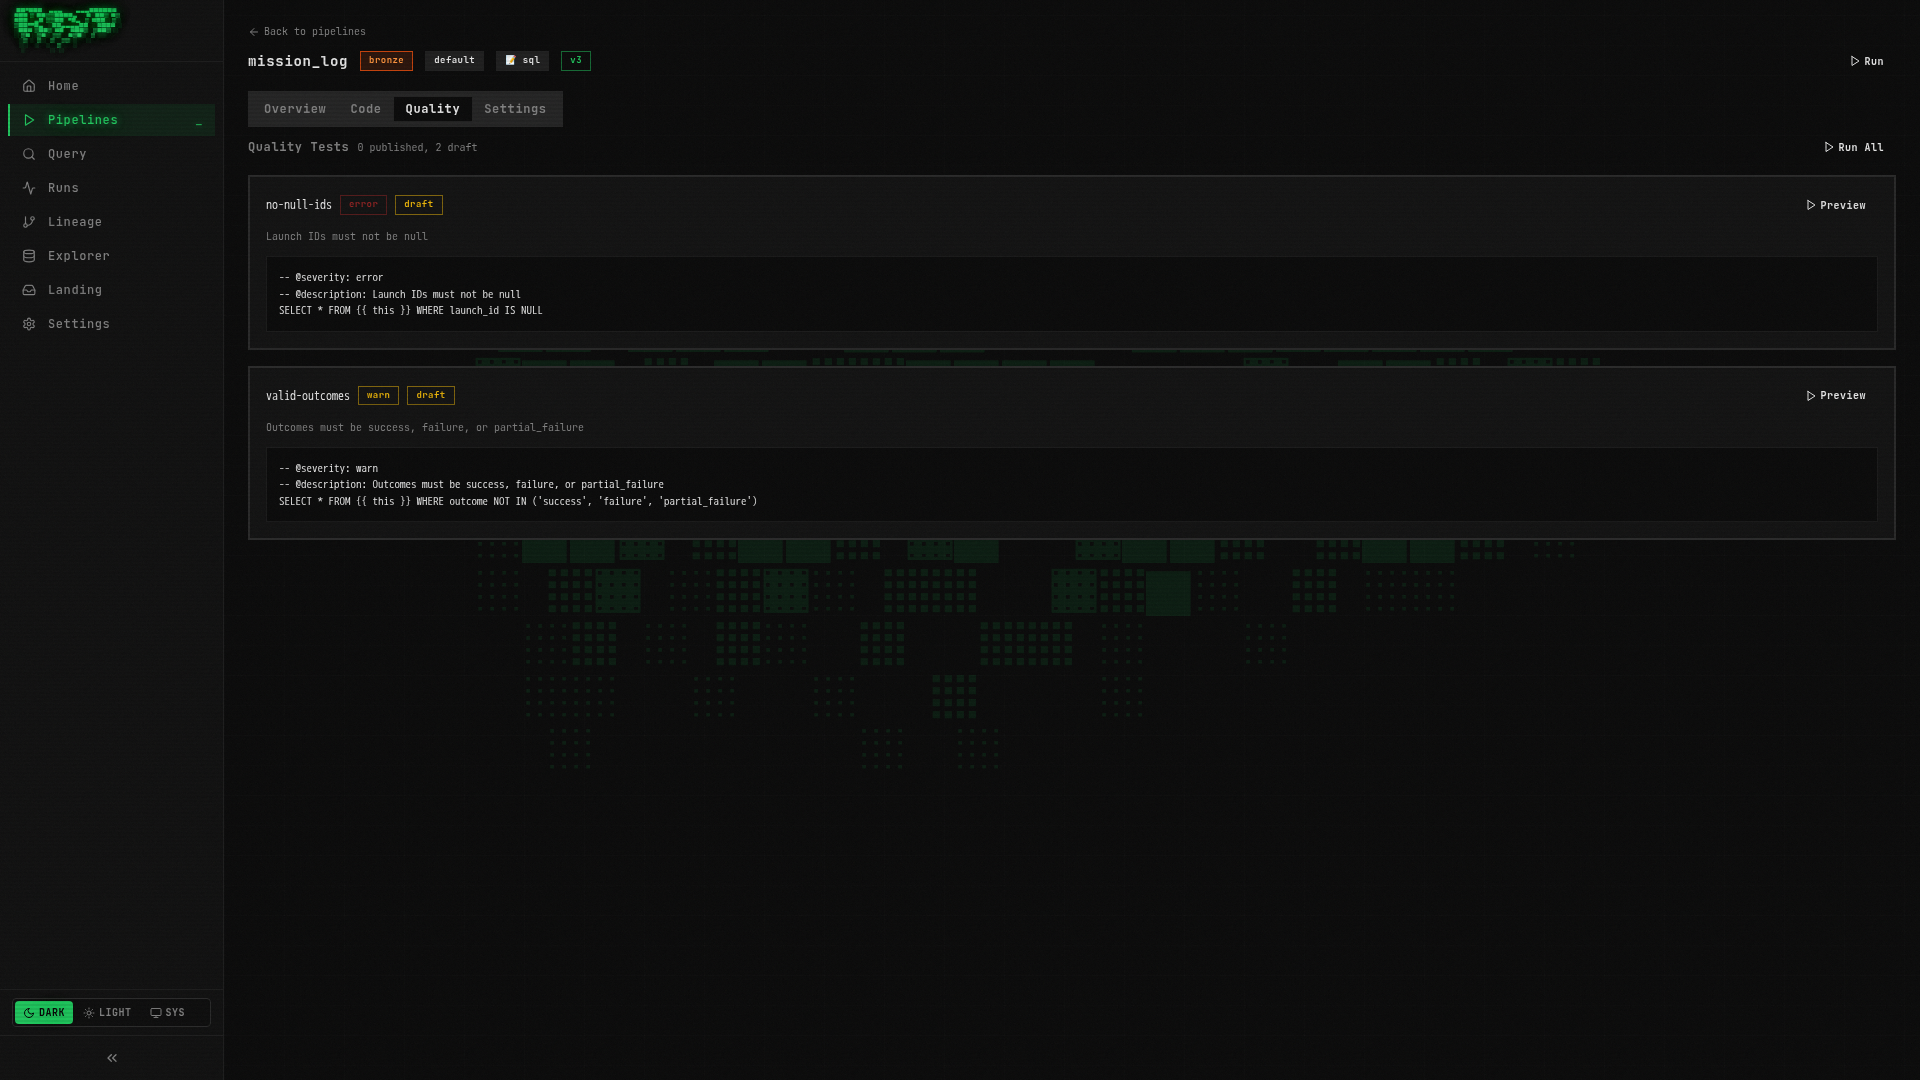
Go to the Quality tab
Click the Quality tab. This is where all quality tests for this pipeline are managed.
Create the test
Click New Quality Test and enter:
| Field | Value |
|---|---|
| Name | no-null-ids |
Write the test SQL
-- @severity: error
-- @description: Launch IDs must not be null
-- @tags: completeness, primary-key
-- @remediation: Check upstream CSV for missing launch_id values

SELECT * FROM {{ ref('bronze.mission_log') }}
WHERE launch_id IS NULL
Let’s break down the annotations:
| Annotation | Value | Purpose |
|---|---|---|
@severity | error | Blocks the merge if any rows are returned |
@description | (text) | Human-readable explanation shown in the UI |
@tags | completeness, primary-key | Comma-separated labels for filtering and grouping |
@remediation | (text) | What to do when this test fails — helps the on-call engineer |
Publish the test
Click Publish. The test badge changes from Draft to Published.
The ref() function works in quality tests too — it references the same pipeline
tables you use in your SQL pipelines. This means quality tests participate in the
lineage graph and RAT knows which tests belong to which pipelines.
Add a Warning-Level Test
Not every data issue should block a pipeline. Let’s add a softer check that flags unexpected outcome values but still allows the data through.
Create another quality test
On the same Quality tab for mission_log, click New Quality Test:
| Field | Value |
|---|---|
| Name | valid-outcomes |
Write the test SQL
-- @severity: warn
-- @description: Outcome should be one of: success, failure, partial_failure
-- @tags: validity, enum-check
-- @remediation: Review the source data for unexpected outcome values

SELECT * FROM {{ ref('bronze.mission_log') }}
WHERE outcome NOT IN ('success', 'failure', 'partial_failure')
This test checks that every row has a recognized outcome value. If a new status like
'delayed' or 'anomaly' appears in the source data, this test will flag it — but
because it’s severity warn, the data still lands in the table.
Publish the test
Click Publish to activate the test.
You now have two quality tests on mission_log:
| Test | Severity | What It Checks |
|---|---|---|
no-null-ids | error | Primary key completeness — blocks merge on failure |
valid-outcomes | warn | Enum validation — logs warning on failure |
Run and See Quality Results
Run the pipeline
Go back to the Overview tab of mission_log and click Run.
RAT’s execution flow with quality tests is:
- Branch — create an isolated Iceberg branch for the write
- Execute — run the pipeline SQL and write results to the branch
- Test — run all published quality tests against the branch data
- Merge — if all
errortests pass, merge the branch into the main table
View the results
After the run completes, click on the run in the Runs page (or the run link in the pipeline detail) to see the full results.
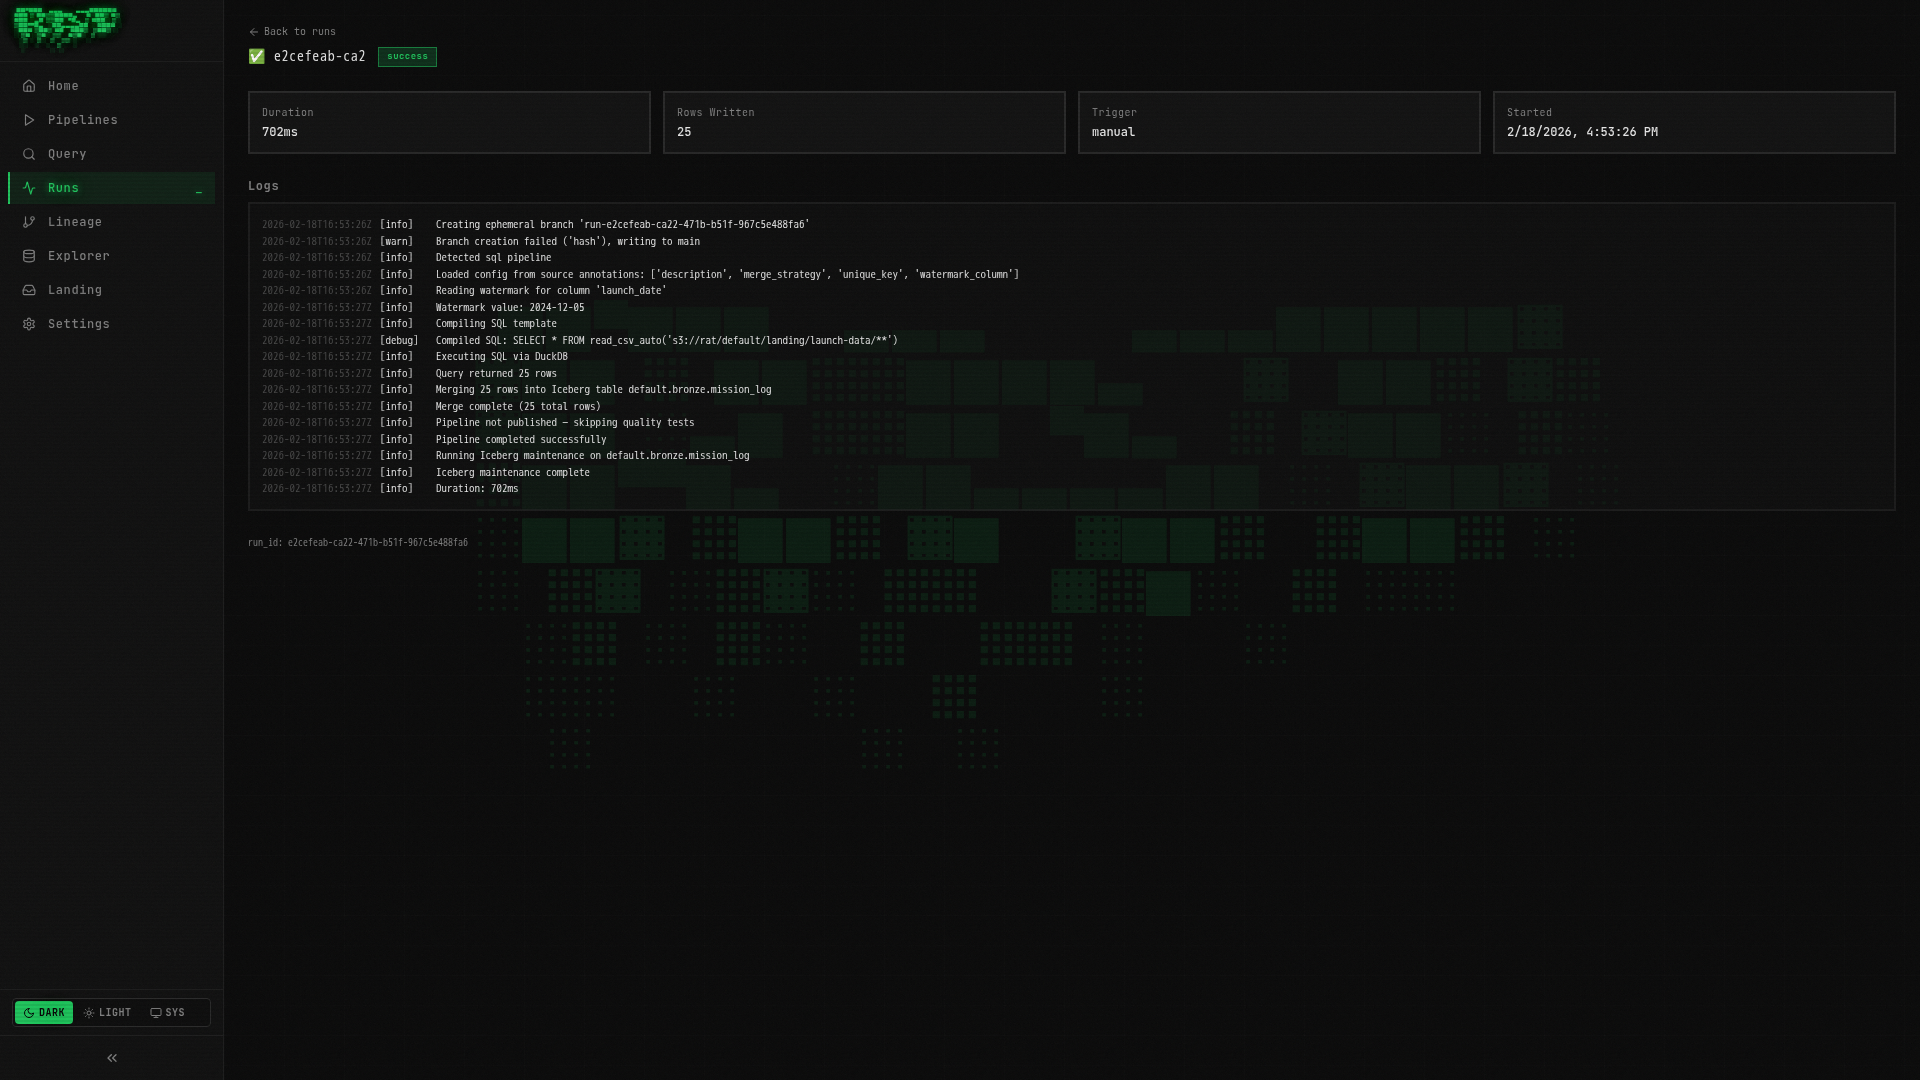
You should see:
- no-null-ids: ✅ Passed (0 rows returned — no null IDs in our data)
- valid-outcomes: ✅ Passed (0 rows returned — all outcomes are recognized values)
What happens on failure?
If no-null-ids had returned rows (i.e., there were null launch IDs):
- The run status would show Failed
- The branch would be discarded — bad data never reaches the table
- The run detail would show exactly which rows violated the test
- Downstream pipelines like
enriched_launcheswould still have clean data
If valid-outcomes had returned rows:
- The run status would show Warning
- The data would still be merged into the table
- The warning would appear in the run detail with the offending rows
This branch-test-merge pattern is what makes RAT quality tests powerful. Data is written to an isolated branch first, validated, and only merged if it passes. It’s like a pull request for your data — bad data never touches production.
Quality Test Annotations Reference
Here is the full list of annotations available for quality tests:
| Annotation | Required | Description |
|---|---|---|
@severity | Yes | error (blocks merge) or warn (allows merge, logs warning) |
@description | No | Human-readable explanation of what the test checks |
@tags | No | Comma-separated labels for filtering (e.g., completeness, primary-key) |
@remediation | No | Instructions for what to do when the test fails |
Tips for writing good quality tests
- One assertion per test — don’t combine “no nulls” and “valid range” in one query. Separate tests make failures easier to diagnose.
- Use
errorsparingly — reserve it for true data integrity violations. Overusingerrormeans your pipelines get blocked frequently. - Write actionable remediation — “check the upstream CSV” is more helpful than “data is bad”. The person reading this at 2 AM will thank you.
- Tag consistently — use standard tags like
completeness,validity,uniqueness,timeliness,consistencyacross your tests. This lets you filter and report on data quality dimensions.
Published vs Draft
Quality tests have the same lifecycle as pipelines:
| State | Behavior |
|---|---|
| Draft | Visible in the UI but not executed during pipeline runs |
| Published | Actively executed on every pipeline run |
This lets you write and iterate on a quality test without affecting production runs. When you’re confident it works correctly, publish it to activate enforcement.
Be careful when publishing a new error-severity test on a pipeline that’s
running in production. If the test fails on existing data patterns, it will
start blocking merges immediately. Consider starting with warn severity,
monitoring for a few runs, then upgrading to error.
What You Built
In this part, you:
- ✅ Created an error-level quality test (
no-null-ids) that blocks merges on failure - ✅ Created a warn-level quality test (
valid-outcomes) that logs but doesn’t block - ✅ Learned the branch-test-merge execution flow
- ✅ Explored quality test annotations and best practices
- ✅ Understood the published vs draft lifecycle
Your mission_log pipeline is now protected by two quality gates. Bad data gets caught
before it ever reaches the enriched_launches Silver table downstream.
Next: In Part 6, you’ll write a Python pipeline using DuckDB and PyArrow for transformations that go beyond what SQL can do.