Part 7: Triggers & Automation ⚡
Time: ~15 minutes | Prerequisites: Part 6 completed (Python pipeline running)
Up to now, you have been running every pipeline manually — click Run, wait, repeat. That works for development, but a real data platform needs automation. RAT’s trigger system lets you wire pipelines together so they fire automatically based on events: a file upload, a cron schedule, an upstream pipeline completing, or an external HTTP call.
In this part, you will set up four different trigger types and watch your pipeline chain execute hands-free.
Trigger Types Overview
RAT supports 6 trigger types. Here is the full reference:
| Type | Fires When | Config Fields | Best For |
|---|---|---|---|
cron | A cron schedule is due | cron_expr (5-field) | Periodic batch processing |
landing_zone_upload | A file is uploaded to a landing zone | zone_namespace, zone_name | Event-driven ingestion |
pipeline_success | Another pipeline completes successfully | pipeline_namespace, pipeline_layer, pipeline_name | Chaining layers together |
webhook | An HTTP POST hits the trigger URL | (auto-generated URL + token) | External system integration |
file_pattern | An uploaded filename matches a glob | zone_namespace, zone_name, pattern | Selective file ingestion |
cron_dependency | Cron is due and dependencies have new data | cron_expr, dependencies[] | Conditional batch processing |
Every trigger also has these common fields:
| Field | Type | Description |
|---|---|---|
enabled | boolean | Toggle the trigger on/off without deleting it |
cooldown_seconds | integer | Minimum seconds between consecutive firings (prevents rapid re-triggering) |
1. Cron Trigger — Schedule mission_log
Let’s start simple. We will schedule the mission_log bronze pipeline to run every hour.
Open the pipeline settings
Navigate to Pipelines → click mission_log → click the Settings tab.
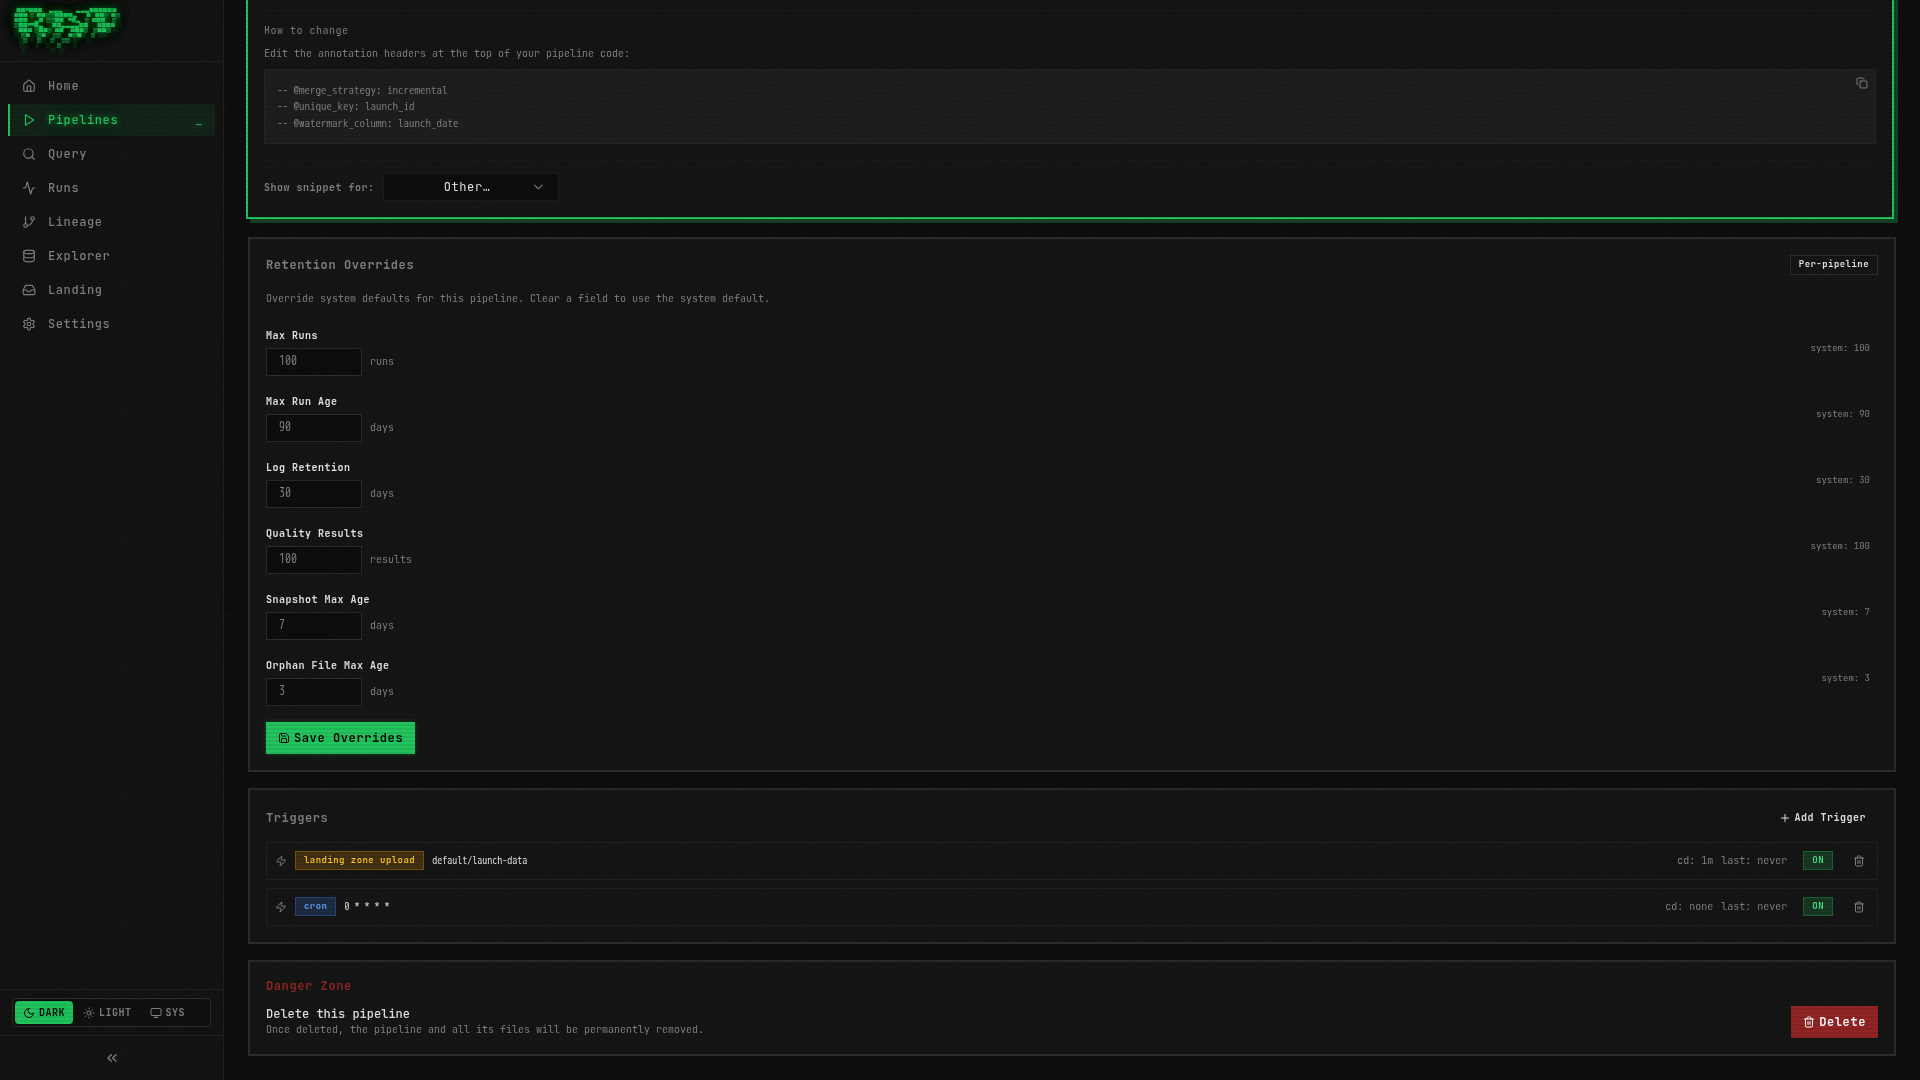
Scroll to the Triggers section
Below the general settings, you will find the Triggers panel. It should be empty for now.
Click “Add Trigger”
Select cron from the trigger type dropdown.
Configure the schedule
| Field | Value |
|---|---|
| Cron Expression | 0 * * * * |
| Enabled | true |
| Cooldown (seconds) | 0 |
The expression 0 * * * * means “at minute 0 of every hour.”
Save
Click Save. The trigger is immediately active — mission_log will now run
automatically at the top of every hour.
Cron expressions use the standard 5-field format: minute hour day-of-month month day-of-week.
If you are unsure about the syntax, crontab.guru is a great
interactive reference.
2. Landing Zone Upload Trigger
Even better than a schedule: trigger mission_log immediately when someone uploads
new CSV data to the launch-data landing zone.
Stay in the Settings tab
You are still on mission_log’s Settings page.
Add another trigger
Click Add Trigger again. Select landing_zone_upload from the dropdown.
Configure the landing zone
| Field | Value |
|---|---|
| Zone Namespace | default |
| Zone Name | launch-data |
| Enabled | true |
| Cooldown (seconds) | 60 |
Save
Click Save. Now whenever a file is uploaded to the launch-data landing zone,
RAT will automatically trigger a mission_log run.
We set a 60-second cooldown here. Without it, uploading 5 files in quick succession would trigger 5 separate runs. The cooldown batches them — the first upload fires the trigger, then RAT waits 60 seconds before it can fire again. By then, all files are present and get processed in one run.
3. Pipeline Success Trigger — Chain Silver After Bronze
Now for the powerful part: chaining layers together. We want enriched_launches (Silver)
to run automatically every time mission_log (Bronze) succeeds.
Navigate to enriched_launches
Go to Pipelines → click enriched_launches → Settings tab.
Add a pipeline_success trigger
Click Add Trigger and select pipeline_success.
Configure the upstream pipeline
| Field | Value |
|---|---|
| Pipeline Namespace | default |
| Pipeline Layer | bronze |
| Pipeline Name | mission_log |
| Enabled | true |
| Cooldown (seconds) | 0 |
We set cooldown to 0 because we want the Silver pipeline to run immediately after
Bronze succeeds — no delay.
Save
Click Save.
Now the chain is wired: upload a CSV → Bronze runs → Silver runs automatically. Let’s test it.
Upload a file to test the chain
Navigate to Landing Zones → launch-data → upload the space_launches.csv file
(or any CSV — even the same one you uploaded in Part 2).
Watch the domino effect
Go to the Runs page. You should see:
mission_log(Bronze) starts — triggered by the landing zone uploadmission_logcompletes successfullyenriched_launches(Silver) starts — triggered by the pipeline_success triggerenriched_launchescompletes successfully
Two pipelines, zero manual clicks. 🎯
4. Webhook Trigger — Fire from External Systems
Webhooks let external systems (CI/CD, Airflow, custom scripts) trigger RAT pipelines programmatically via HTTP.
Pick a pipeline
Let’s add a webhook trigger to launch_vehicle_stats. Navigate to Pipelines →
launch_vehicle_stats → Settings tab.
Add a webhook trigger
Click Add Trigger and select webhook.
Save
No configuration needed — just click Save. RAT auto-generates a unique URL and bearer token.
Copy the webhook details
After saving, the trigger panel shows:
- Webhook URL:
http://localhost:8080/api/v1/triggers/{trigger-id}/fire - Bearer Token:
rat_wh_...(shown only once — copy it now!)
The webhook token is displayed only at creation time. RAT stores only the SHA-256 hash, so it cannot be retrieved later. If you lose the token, delete the trigger and create a new one.
Fire the webhook with curl
Open a terminal and run:
curl -X POST http://localhost:8080/api/v1/triggers/{trigger-id}/fire \
  -H "Authorization: Bearer rat_wh_your_token_here"
Replace {trigger-id} and the token with the values from the Portal.
Verify the run
Go to the Runs page. You should see a new run for launch_vehicle_stats with the
trigger source shown as webhook.
Cooldown Configuration
The cooldown_seconds field prevents a trigger from firing more frequently than the
specified interval. Here is a practical guide:
| Trigger Type | Recommended Cooldown | Reasoning |
|---|---|---|
cron | 0 | Cron spacing is the natural interval |
landing_zone_upload | 30–300s | Batch multiple file uploads into one run |
pipeline_success | 0 | Usually want immediate downstream chaining |
webhook | 0–60s | Depends on caller frequency |
file_pattern | 30–300s | Same as landing zone — batch uploads |
cron_dependency | 0 | Cron spacing + dependency gating is enough |
Example: A landing zone receives 20 CSV files over 2 minutes. With cooldown_seconds: 120,
the trigger fires once for the first file, then waits 2 minutes before it can fire again.
By that time, all 20 files are present and the pipeline processes them all in a single run.
Other Trigger Types
We set up four trigger types hands-on. Here is a quick overview of the remaining two:
File Pattern
Like landing_zone_upload, but more selective. It fires only when the uploaded filename
matches a glob pattern.
{
  "type": "file_pattern",
  "config": {
    "zone_namespace": "default",
    "zone_name": "raw_events",
    "pattern": "launches_*.csv"
  },
  "cooldown_seconds": 60,
  "enabled": true
}
Use case: A landing zone receives both .csv and .parquet files, but you only
want to trigger on CSV uploads.
Cron Dependency
The most sophisticated trigger. It combines a cron schedule with dependency checking: the trigger fires only when both conditions are met:
- The cron schedule is due
- All listed dependency pipelines have completed successfully since the trigger last fired
{
  "type": "cron_dependency",
  "config": {
    "cron_expr": "0 * * * *",
    "dependencies": [
      {
        "namespace": "default",
        "layer": "silver",
        "name": "enriched_launches"
      }
    ]
  },
  "enabled": true
}
Use case: A Gold pipeline that should run hourly, but only if Silver has produced fresh data. This prevents wasteful re-runs when nothing has changed.
The cron_dependency evaluator also reacts to run_completed events via Postgres
LISTEN/NOTIFY. When a dependency finishes, RAT re-evaluates within sub-second latency
rather than waiting for the next poll cycle.
Building Trigger Chains
With what you have learned, you can build sophisticated automation chains:
One file upload cascades through the entire pipeline graph. Zero manual intervention.
Avoid circular triggers. If Pipeline A triggers Pipeline B, and Pipeline B triggers Pipeline A, you create an infinite loop. RAT does not currently detect circular dependencies — the cooldown period is your safety valve.
What You Built
In this part, you:
- ✅ Created a cron trigger to schedule
mission_loghourly - ✅ Created a landing zone upload trigger for event-driven ingestion
- ✅ Created a pipeline_success trigger to chain Silver after Bronze
- ✅ Created a webhook trigger and fired it with
curl - ✅ Learned about cooldown configuration for batching rapid events
- ✅ Explored file_pattern and cron_dependency triggers
Your pipelines now run themselves. In the final part, you will complete the platform with a Gold layer, explore versioning, data retention, and the full lineage DAG.
Next: In Part 8, you’ll build the Gold layer, wire the complete trigger chain, and explore versioning, data retention, table documentation, and the query editor.